Platform Overview
Fuzzing Terminology
Install the Fuzzbuzz CLI
Find your first C/C++ bug
Find your first Python bug
Find your first Rust bug
Find your first Go bug
Protocol Fuzzing
Seeding your fuzzer
Integrating with libFuzzer
Heartbleed in 5 Minutes
GitHub Integration
GitLab Integration
CLI Integration
fuzzbuzz.yaml reference
Fuzzer Reference
Bug Types
Self-Hosted Fuzzbuzz
Overview
Getting Started
Guides
Tutorials
Integrations
Reference
CLI Integration
This tutorial will walk you through integrating Fuzzbuzz into your CI/CD pipeline using the Fuzzbuzz CLI.
If you use a source code provider that Fuzzbuzz can integrate directly with such as GitHub or GitLab, please check out the specific integration documentation for those tools. For all other source code and CI providers, the Fuzzbuzz CLI enables simple integration.
Project Setup
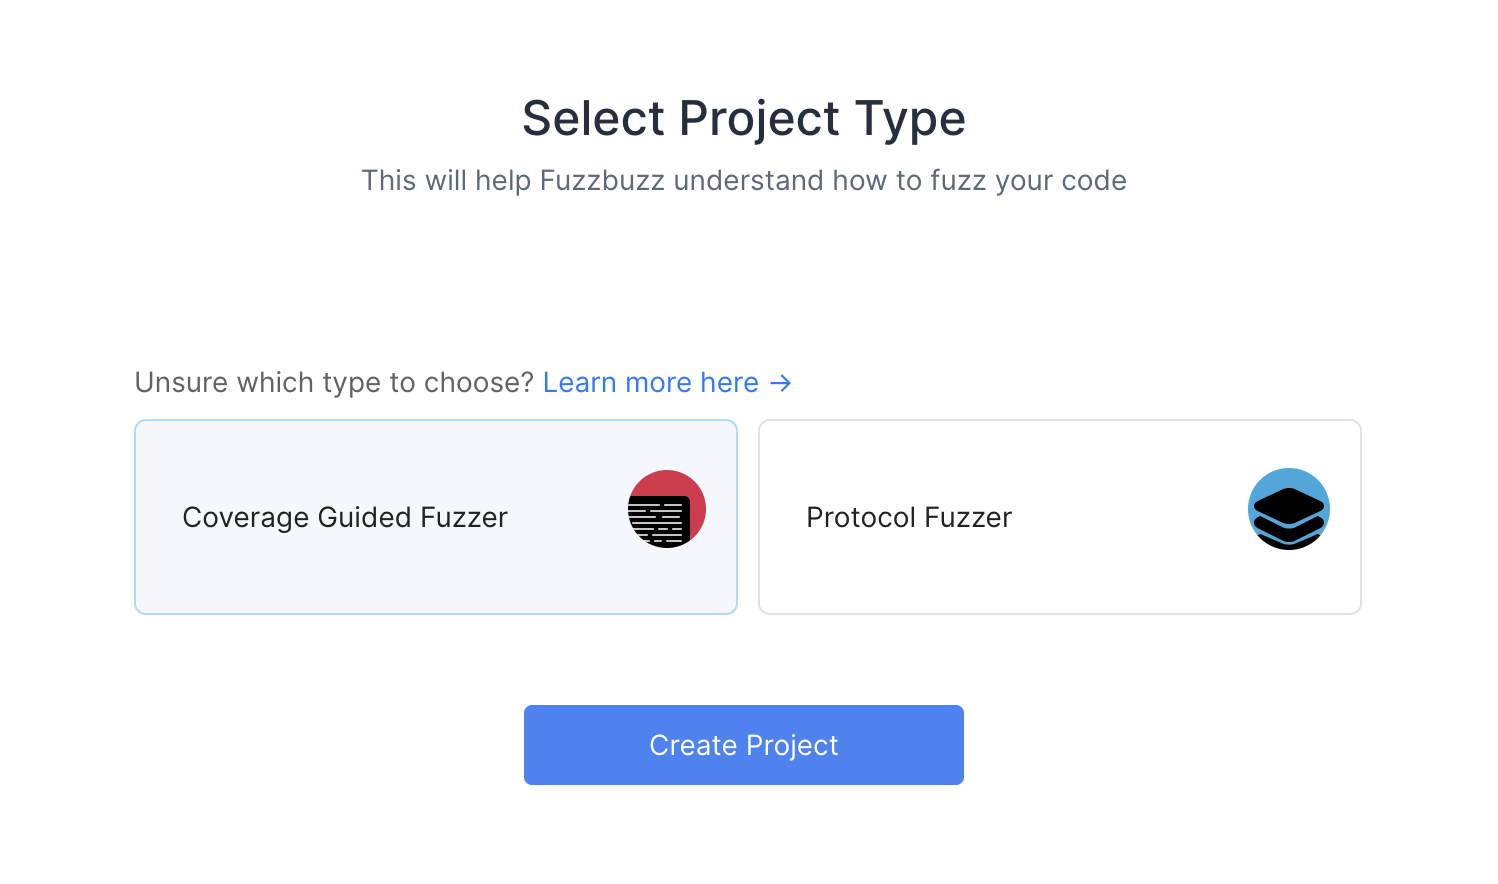
Start by clicking the New Project button on the Fuzzbuzz platform. Select "Coverage Guided Fuzzer" at the next screen and click Next.

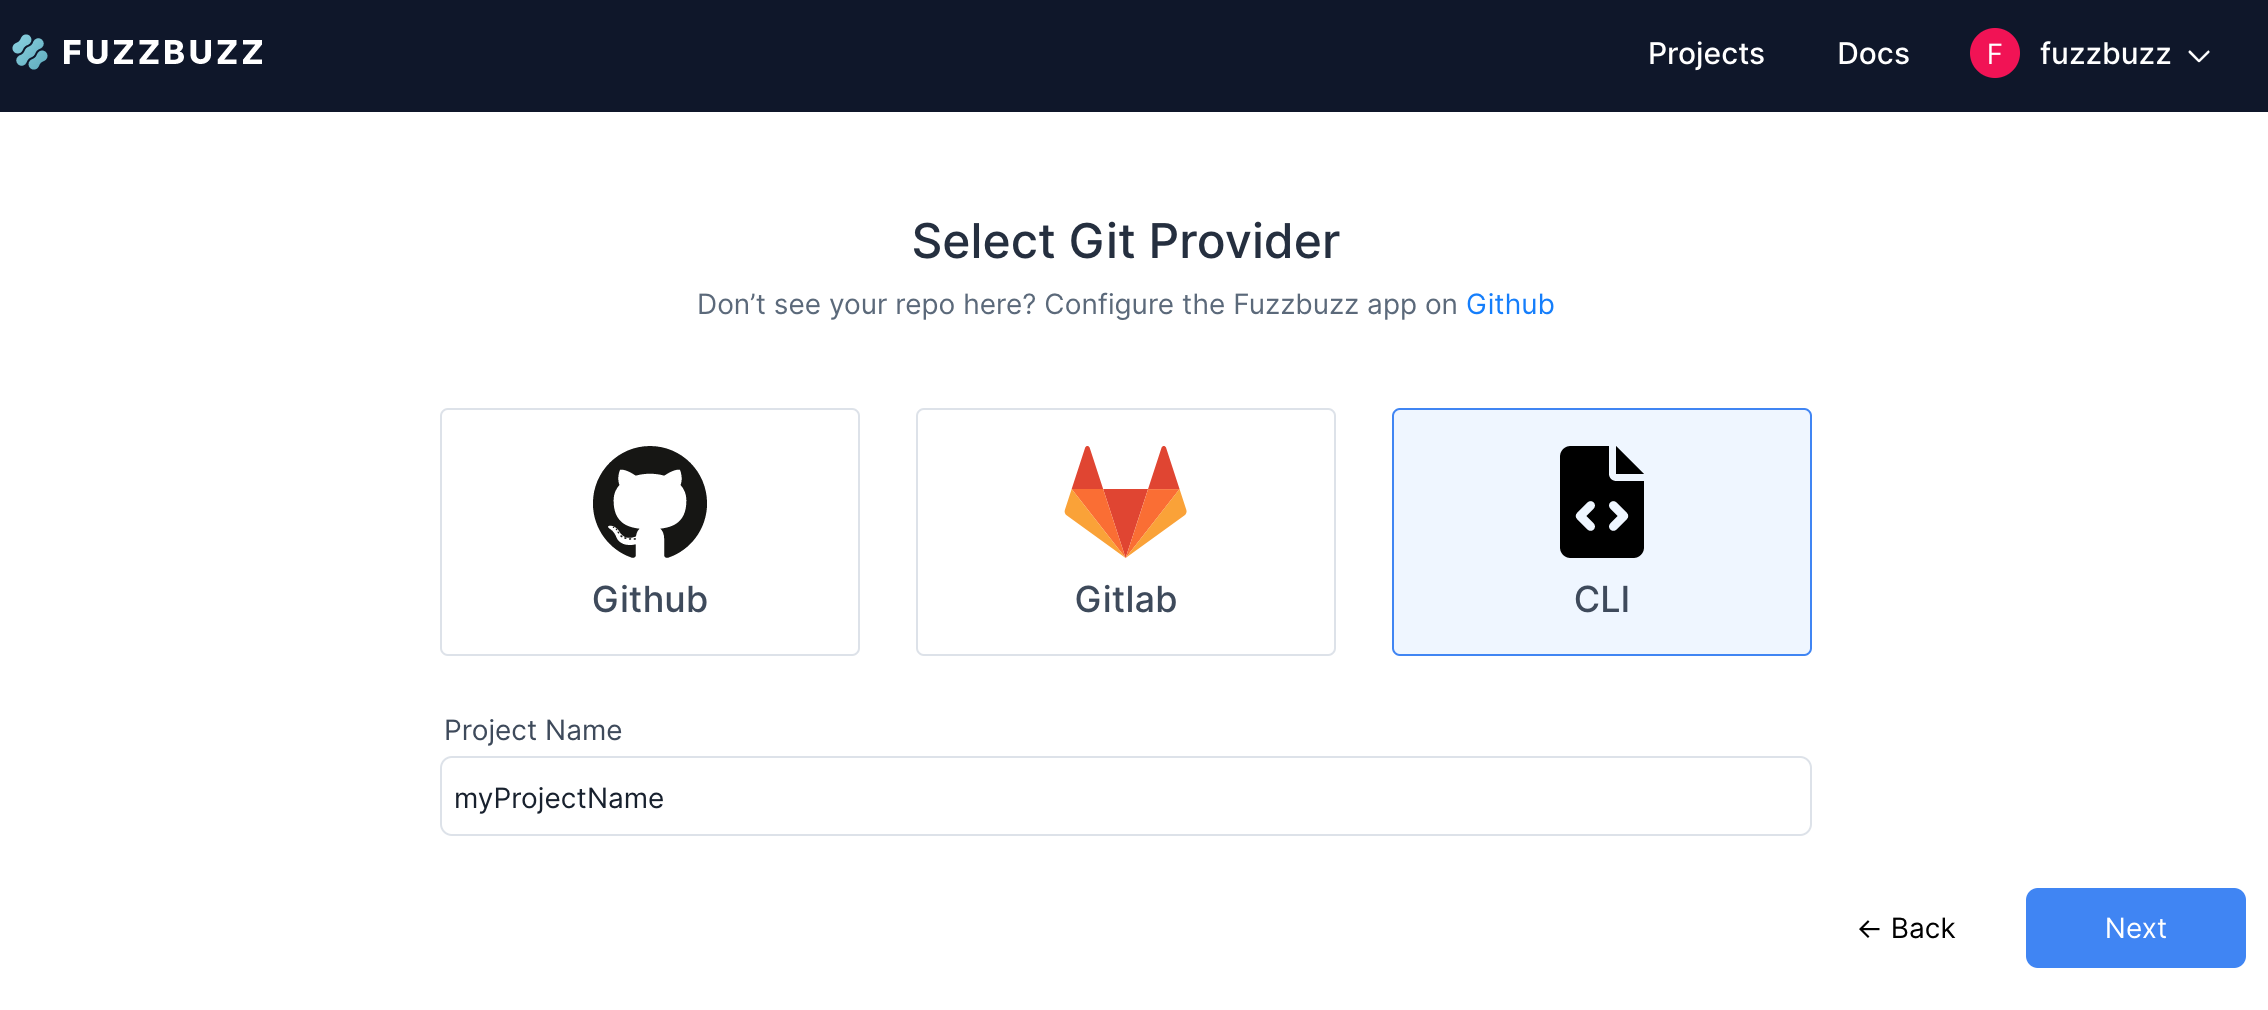
Next, choose the CLI option at the Git provider screen, and give your new project a name.

Once your project is created, you will see a screen with instructions describing how to set up fuzz tests for your repository. At the bottom of these instructions, you will see a command that uses the Fuzzbuzz CLI to push your code to the platform. Copy this command into your CI scripts, or run it from your local machine, at the root of your repository (where you placed your fuzzbuzz.yaml).
Remember to install the Fuzzbuzz CLI on any machine that needs to run this command.
fuzzbuzz push https://beta.fuzzbuzz.io/t/<project token>
Every fuzzbuzz push will create a new fuzz job and stop the last one. The Fuzzbuzz CLI is context-aware - it will push jobs with your current git metadata including branch name and commit hash, allowing you to track changes and run quick fuzz jobs on feature branches while maintaining a continuous fuzz job on your main branch.
Project Configuration
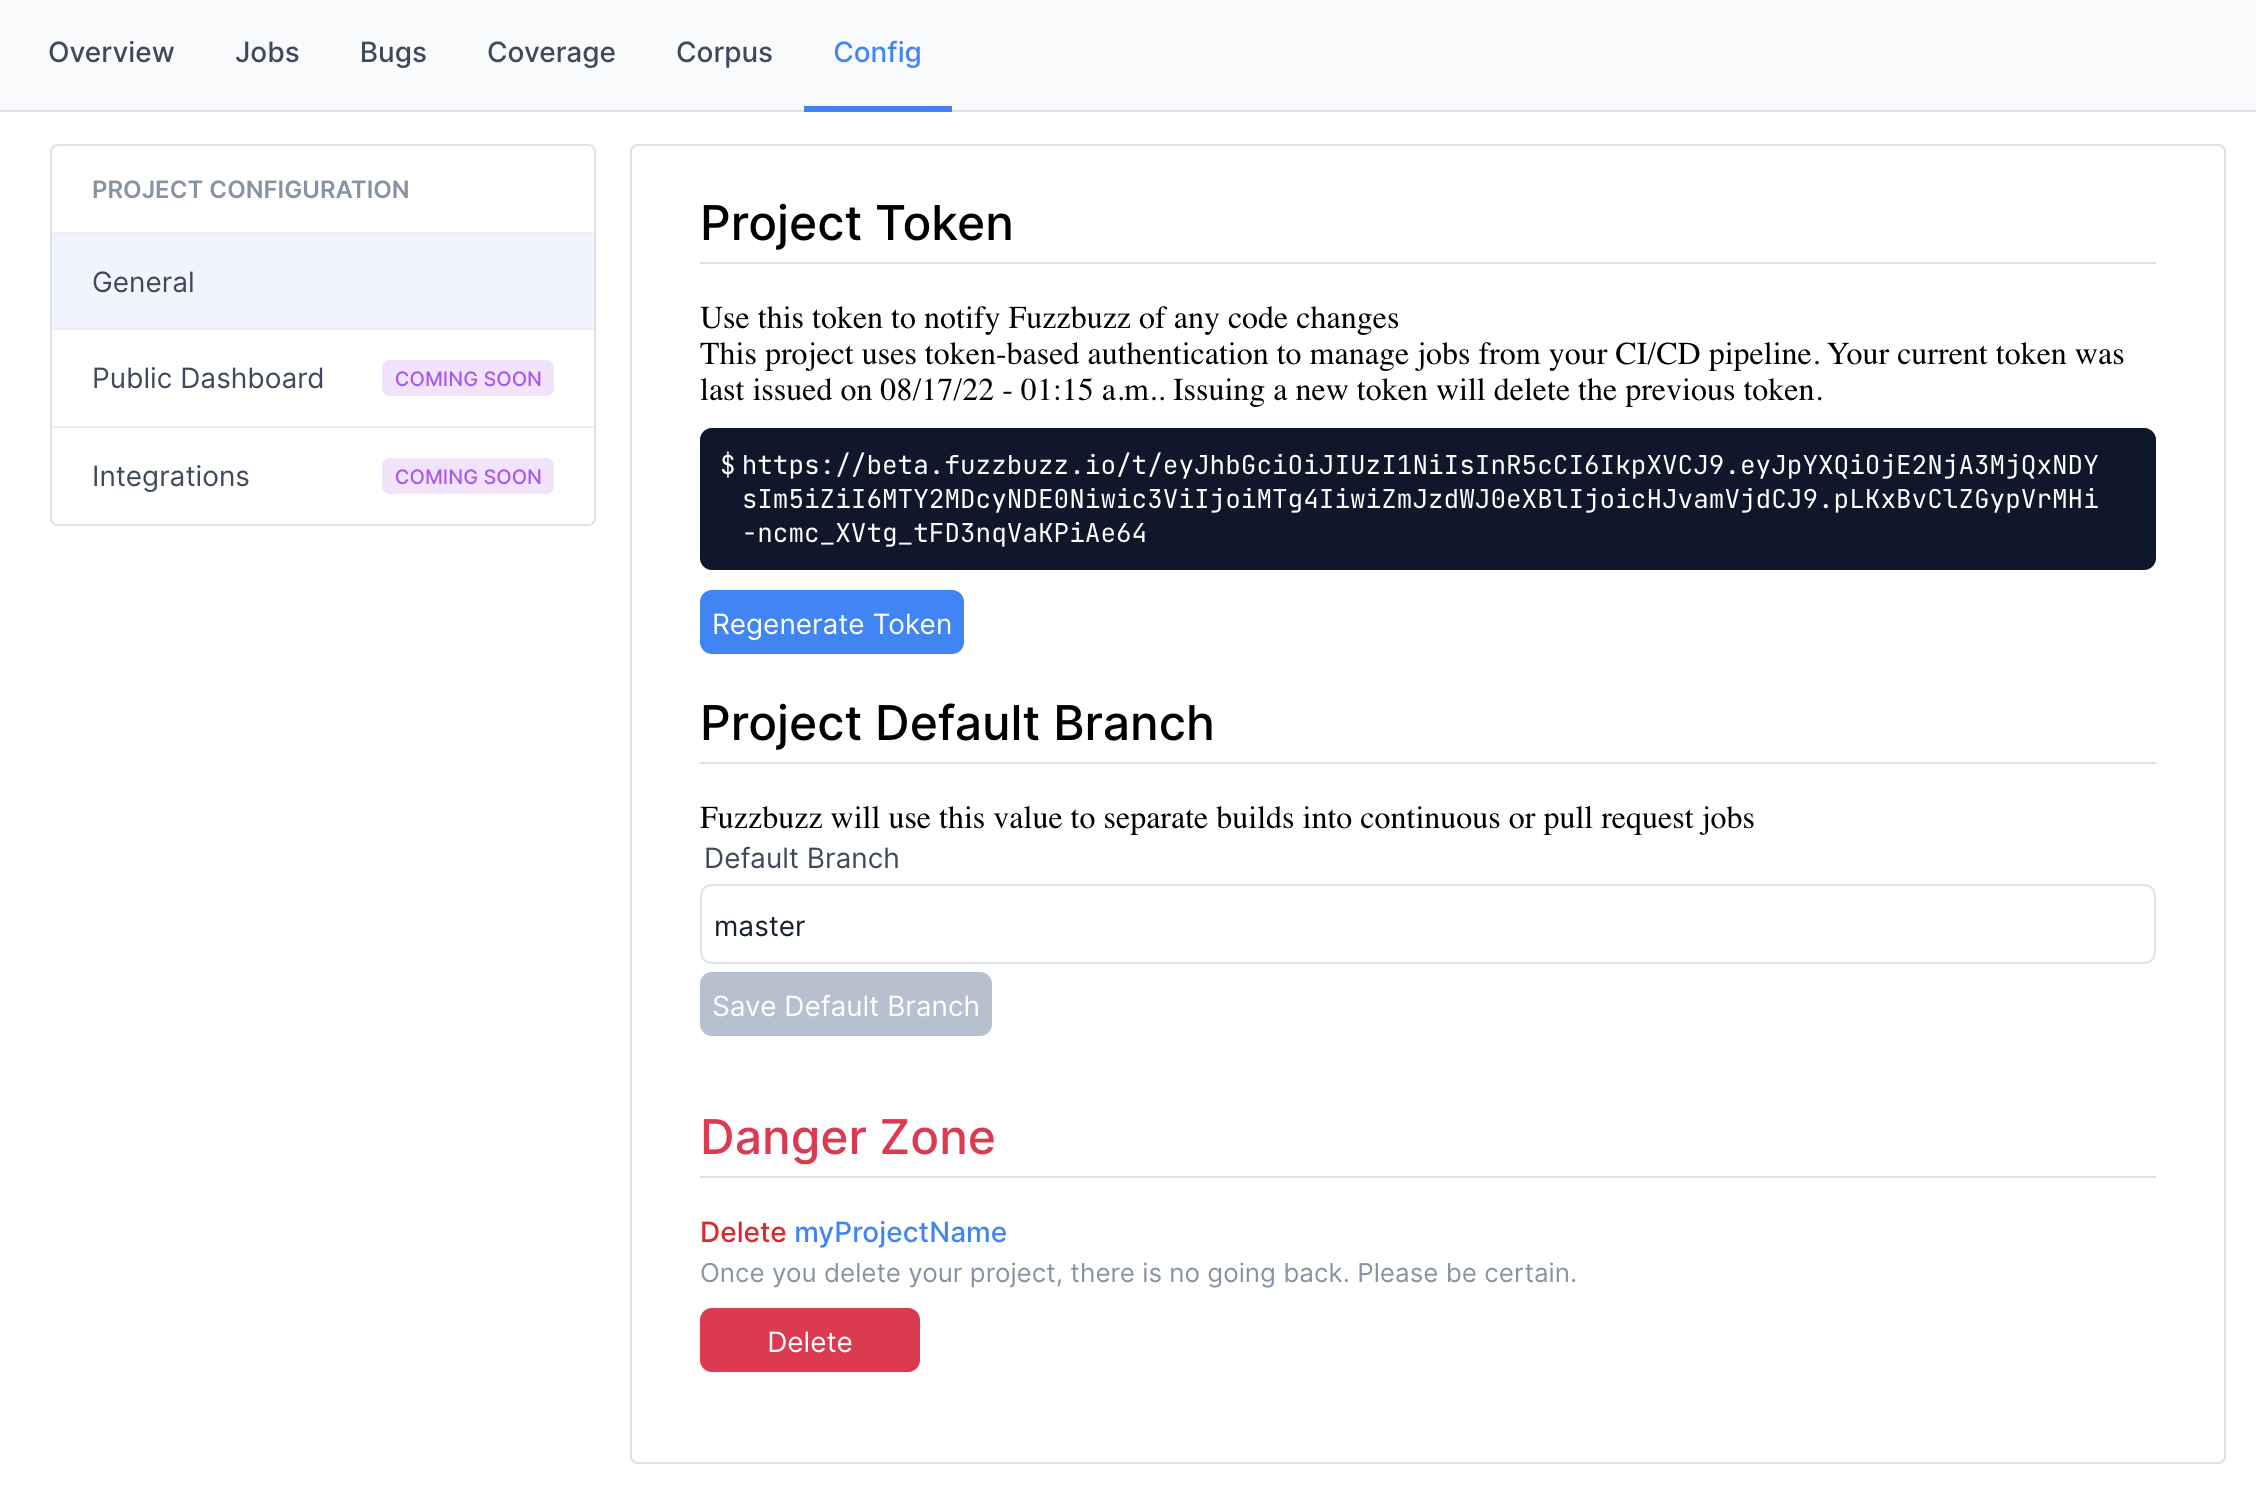
You can configure the default branch of your project by navigating to the Config tab of the project. Jobs on this default branch will run continuously until the next job is pushed. Jobs pushed to all other branches will run for the Quick Fuzz duration (15 minutes by default.)

If a token is compromised or needs to be updated, you can also use this configuration page to generate a new one.
NOTE: this will invalidate all old tokens