Platform Overview
Fuzzing Terminology
Install the Fuzzbuzz CLI
Find your first C/C++ bug
Find your first Python bug
Find your first Rust bug
Find your first Go bug
Protocol Fuzzing
Seeding your fuzzer
Integrating with libFuzzer
Heartbleed in 5 Minutes
GitHub Integration
GitLab Integration
CLI Integration
fuzzbuzz.yaml reference
Fuzzer Reference
Bug Types
Self-Hosted Fuzzbuzz
Overview
Getting Started
Guides
Tutorials
Integrations
Reference
GitLab Integration
This tutorial will walk you through integrating Fuzzbuzz into your GitLab CI/CD pipeline.
Project Setup
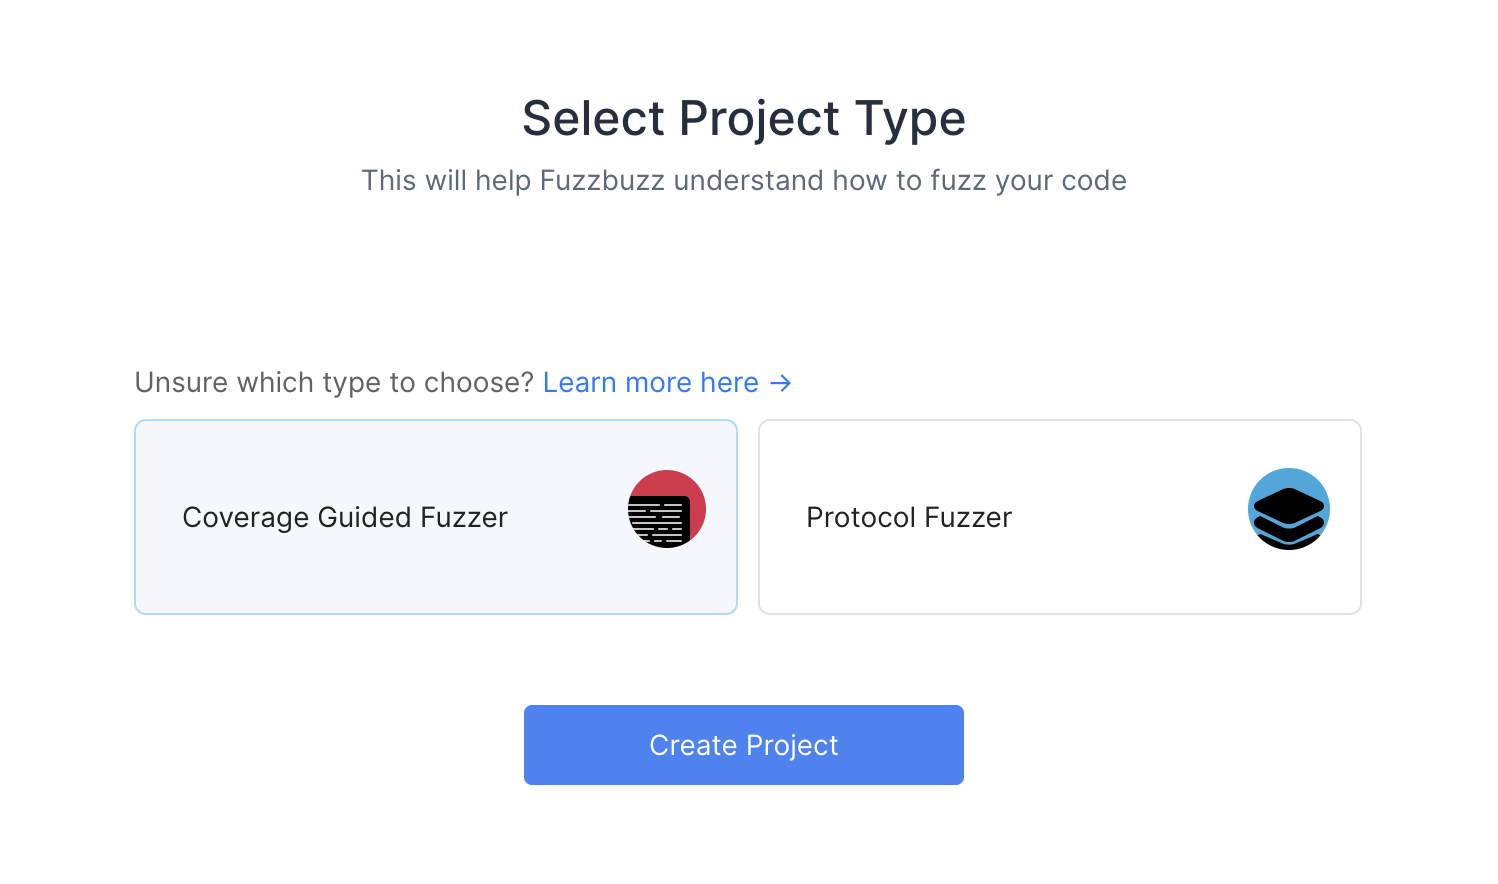
Start by clicking the New Project button on the Fuzzbuzz platform. Select "Coverage Guided Fuzzer" at the next screen and click Next.
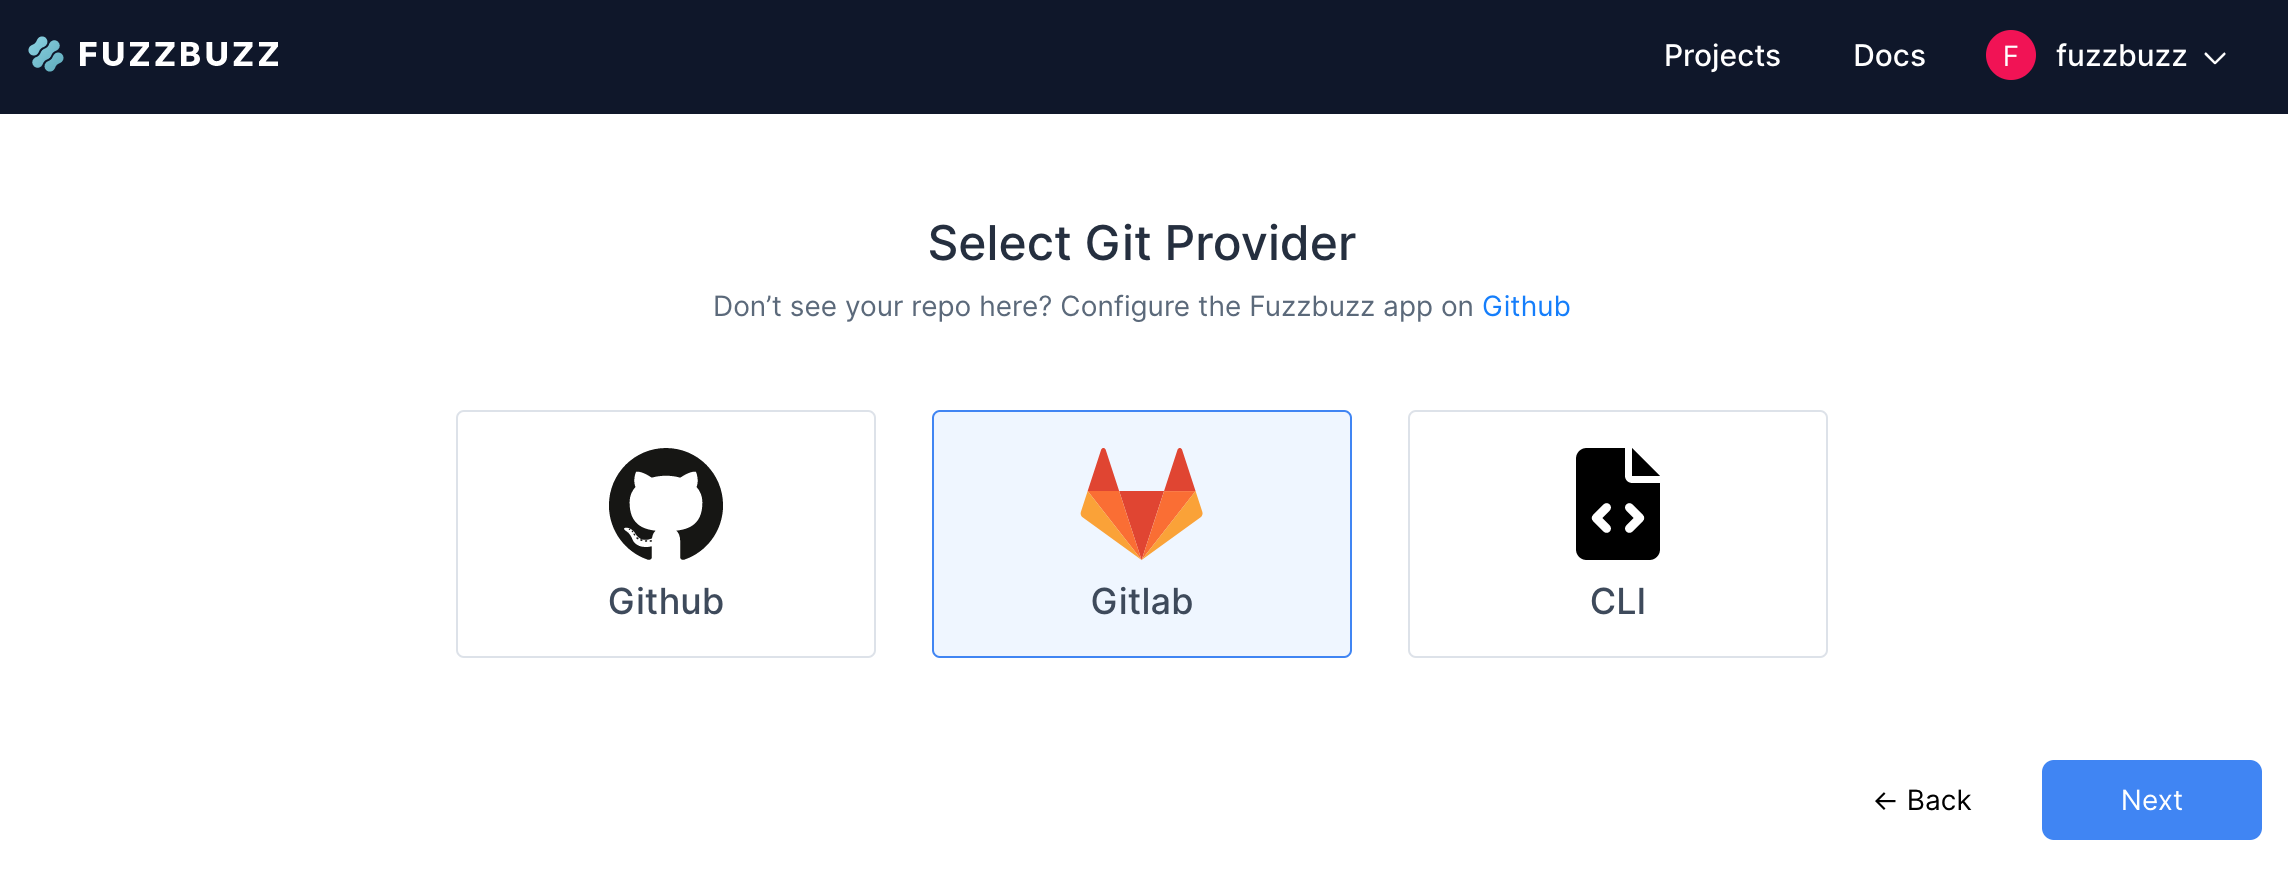
Next, choose the GitLab option at the Git provider screen.
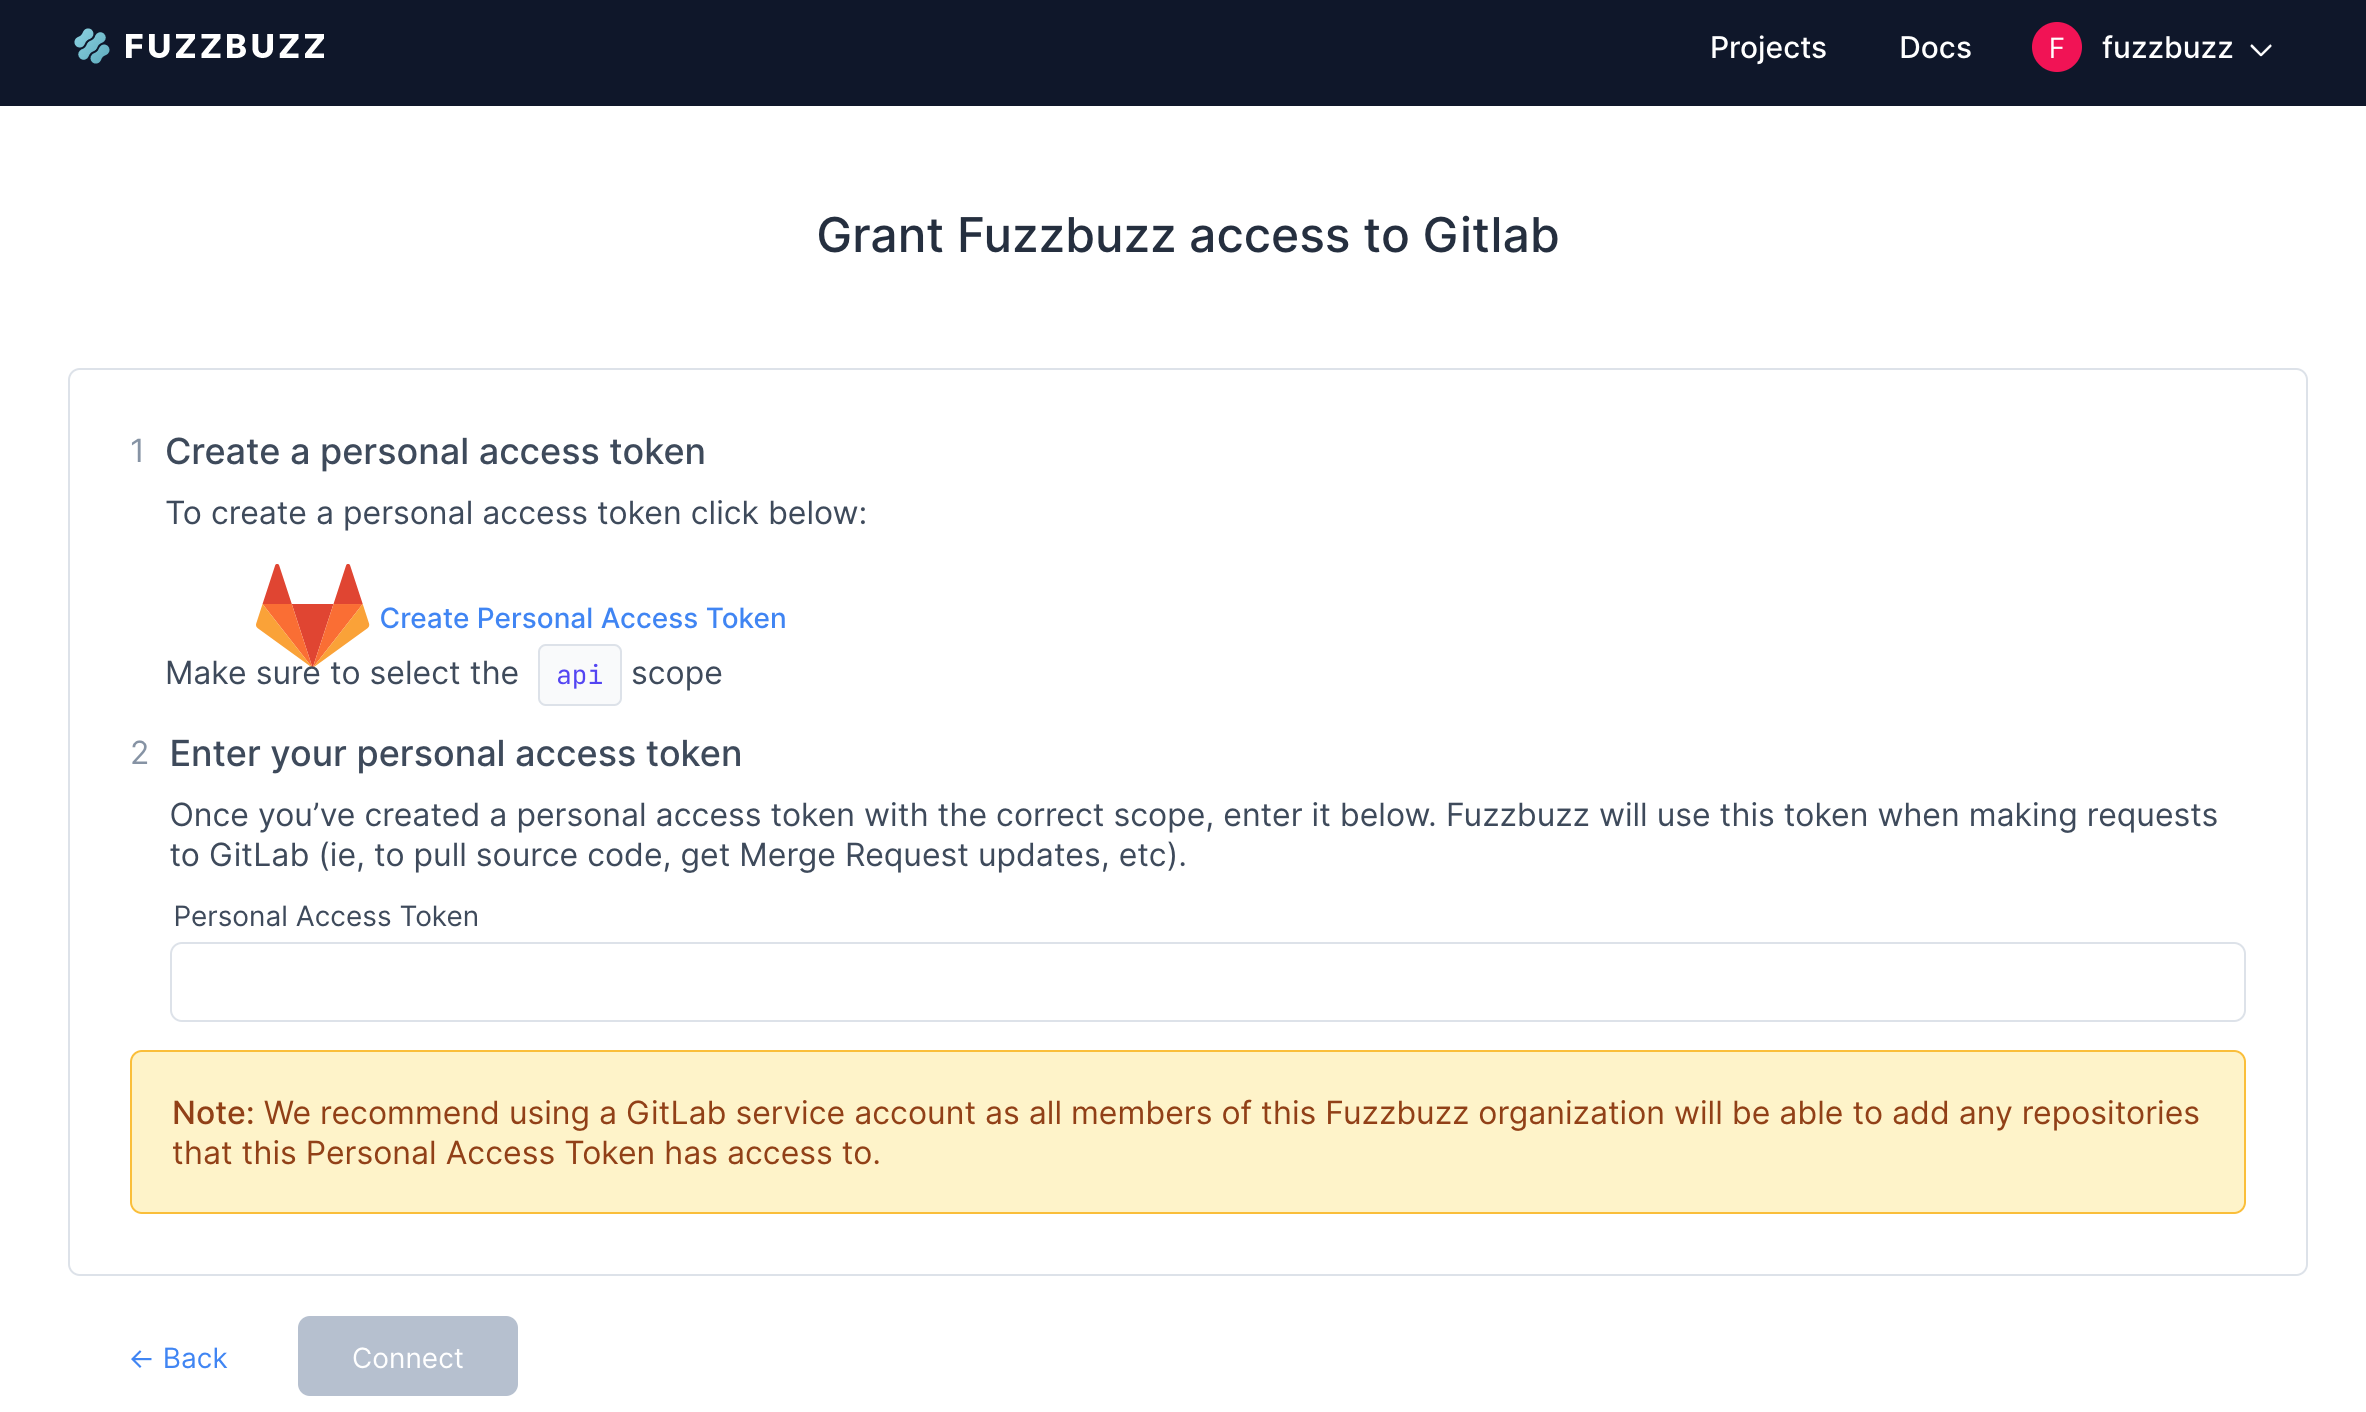
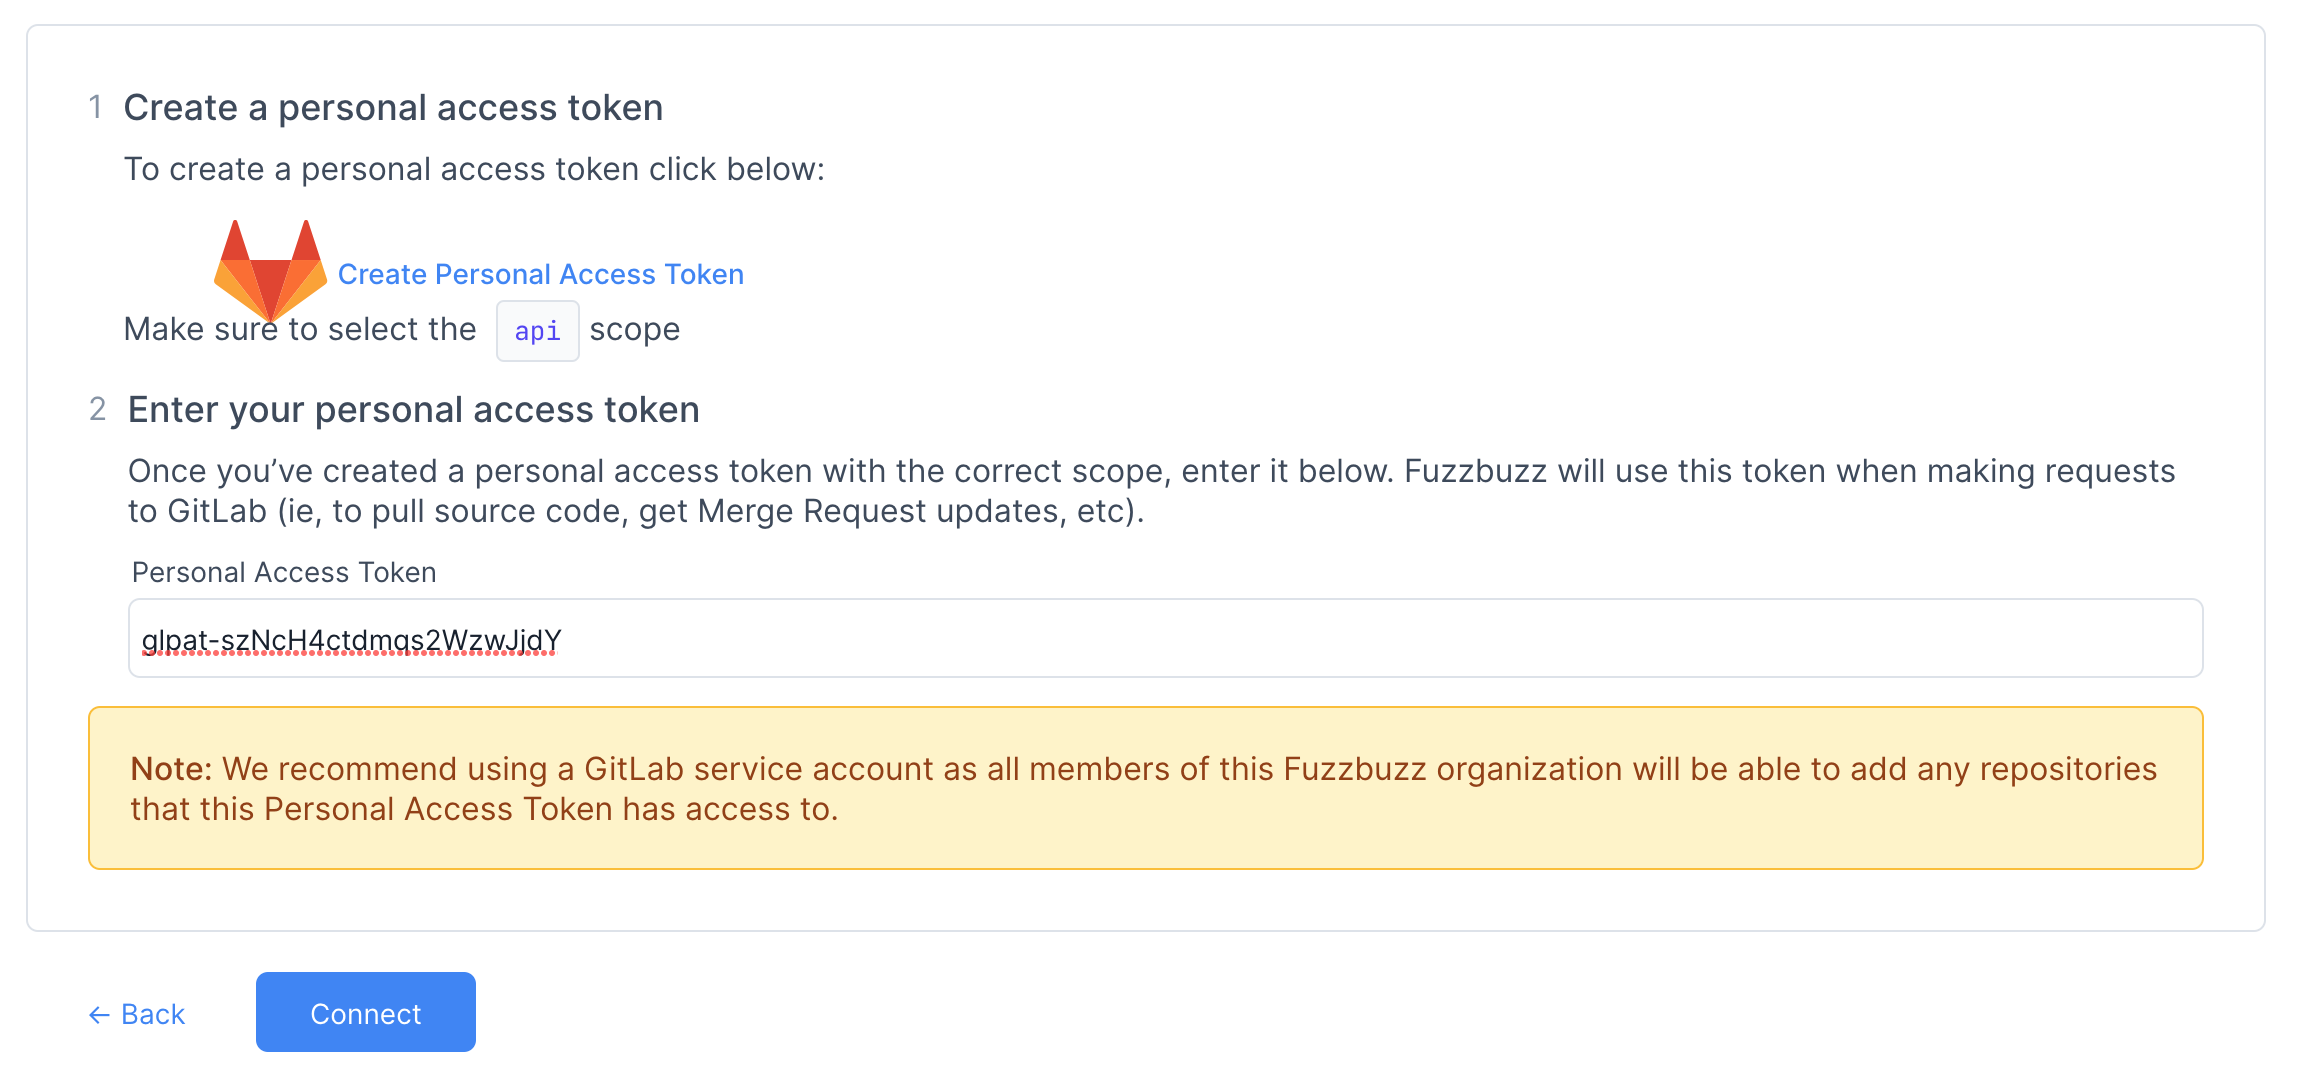
You will see a set of instructions describing how to set up a Personal Access Token on GitLab. We recommend generating a PAT using a service account rather than a singler user's account, since Fuzzbuzz will have access to all projects the PAT does. Follow the GitLab link to navigate to the Personal Access Token account creation page.
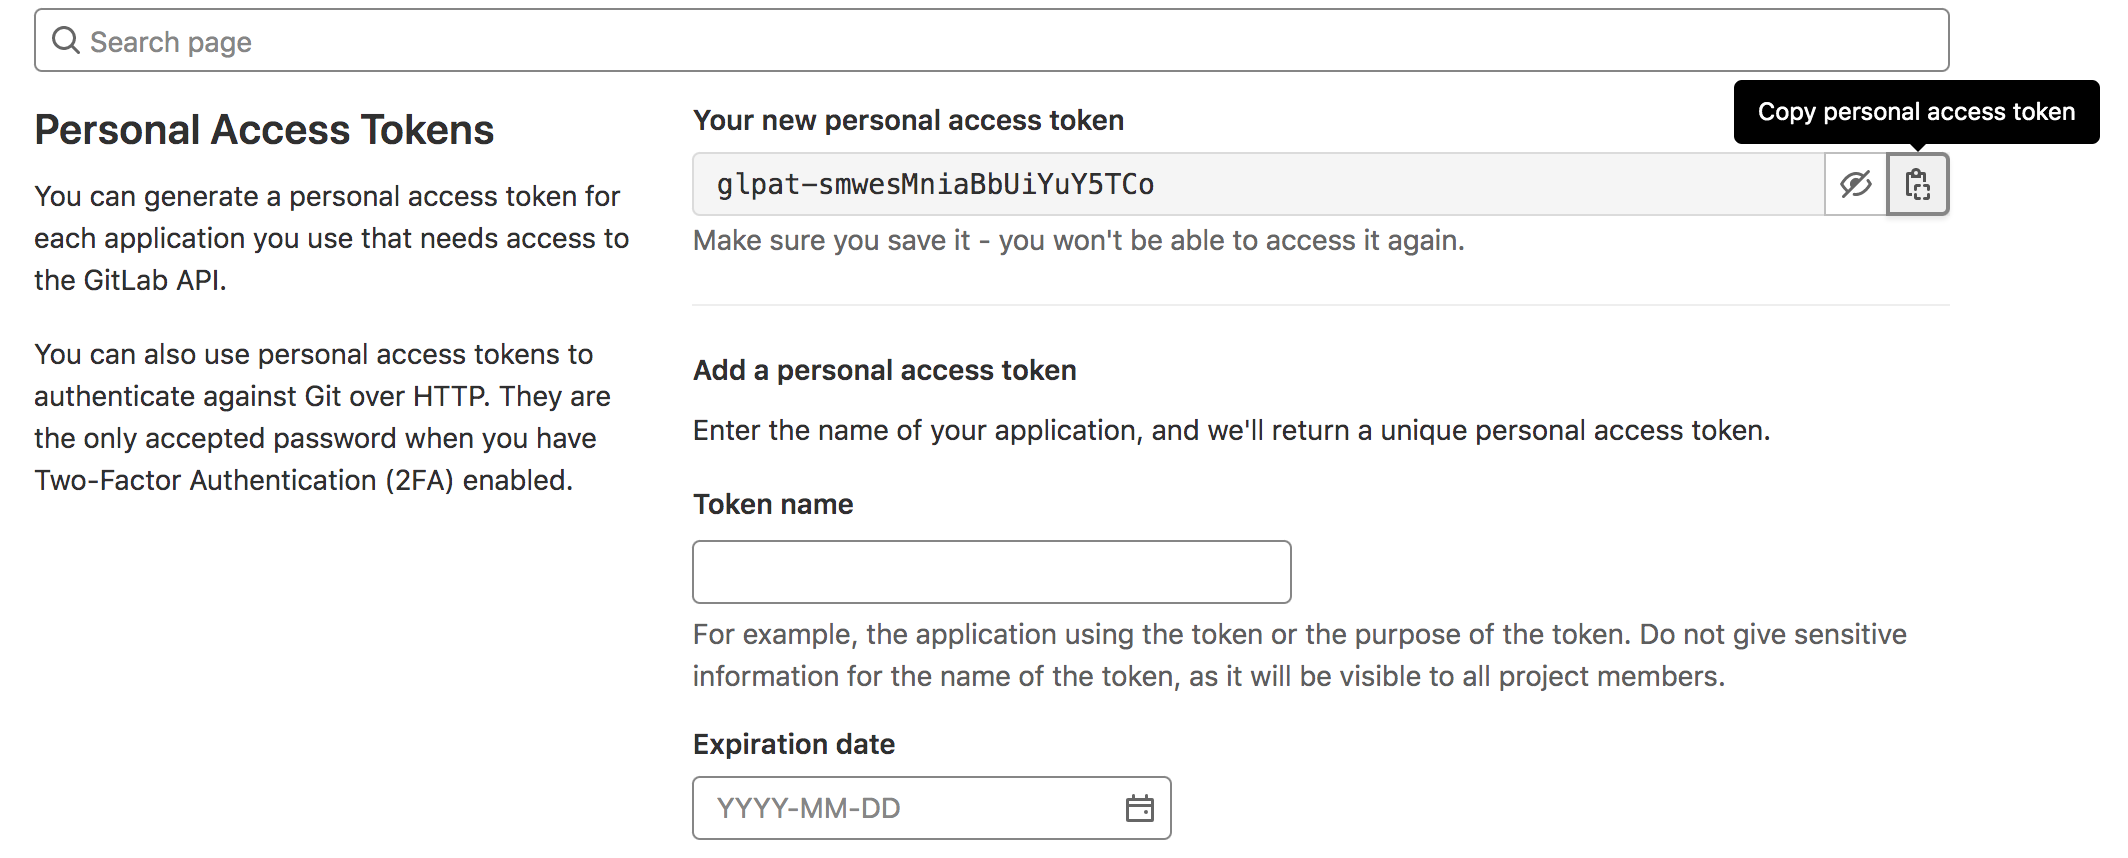
Give your Personal Access Token a name, and set the expiry date to a reasonable time in the future. In most situations, we recommend removing the expiry entirely, since you can always revoke this token from the GitLab settings. Click Create Personal Access Token to continue.
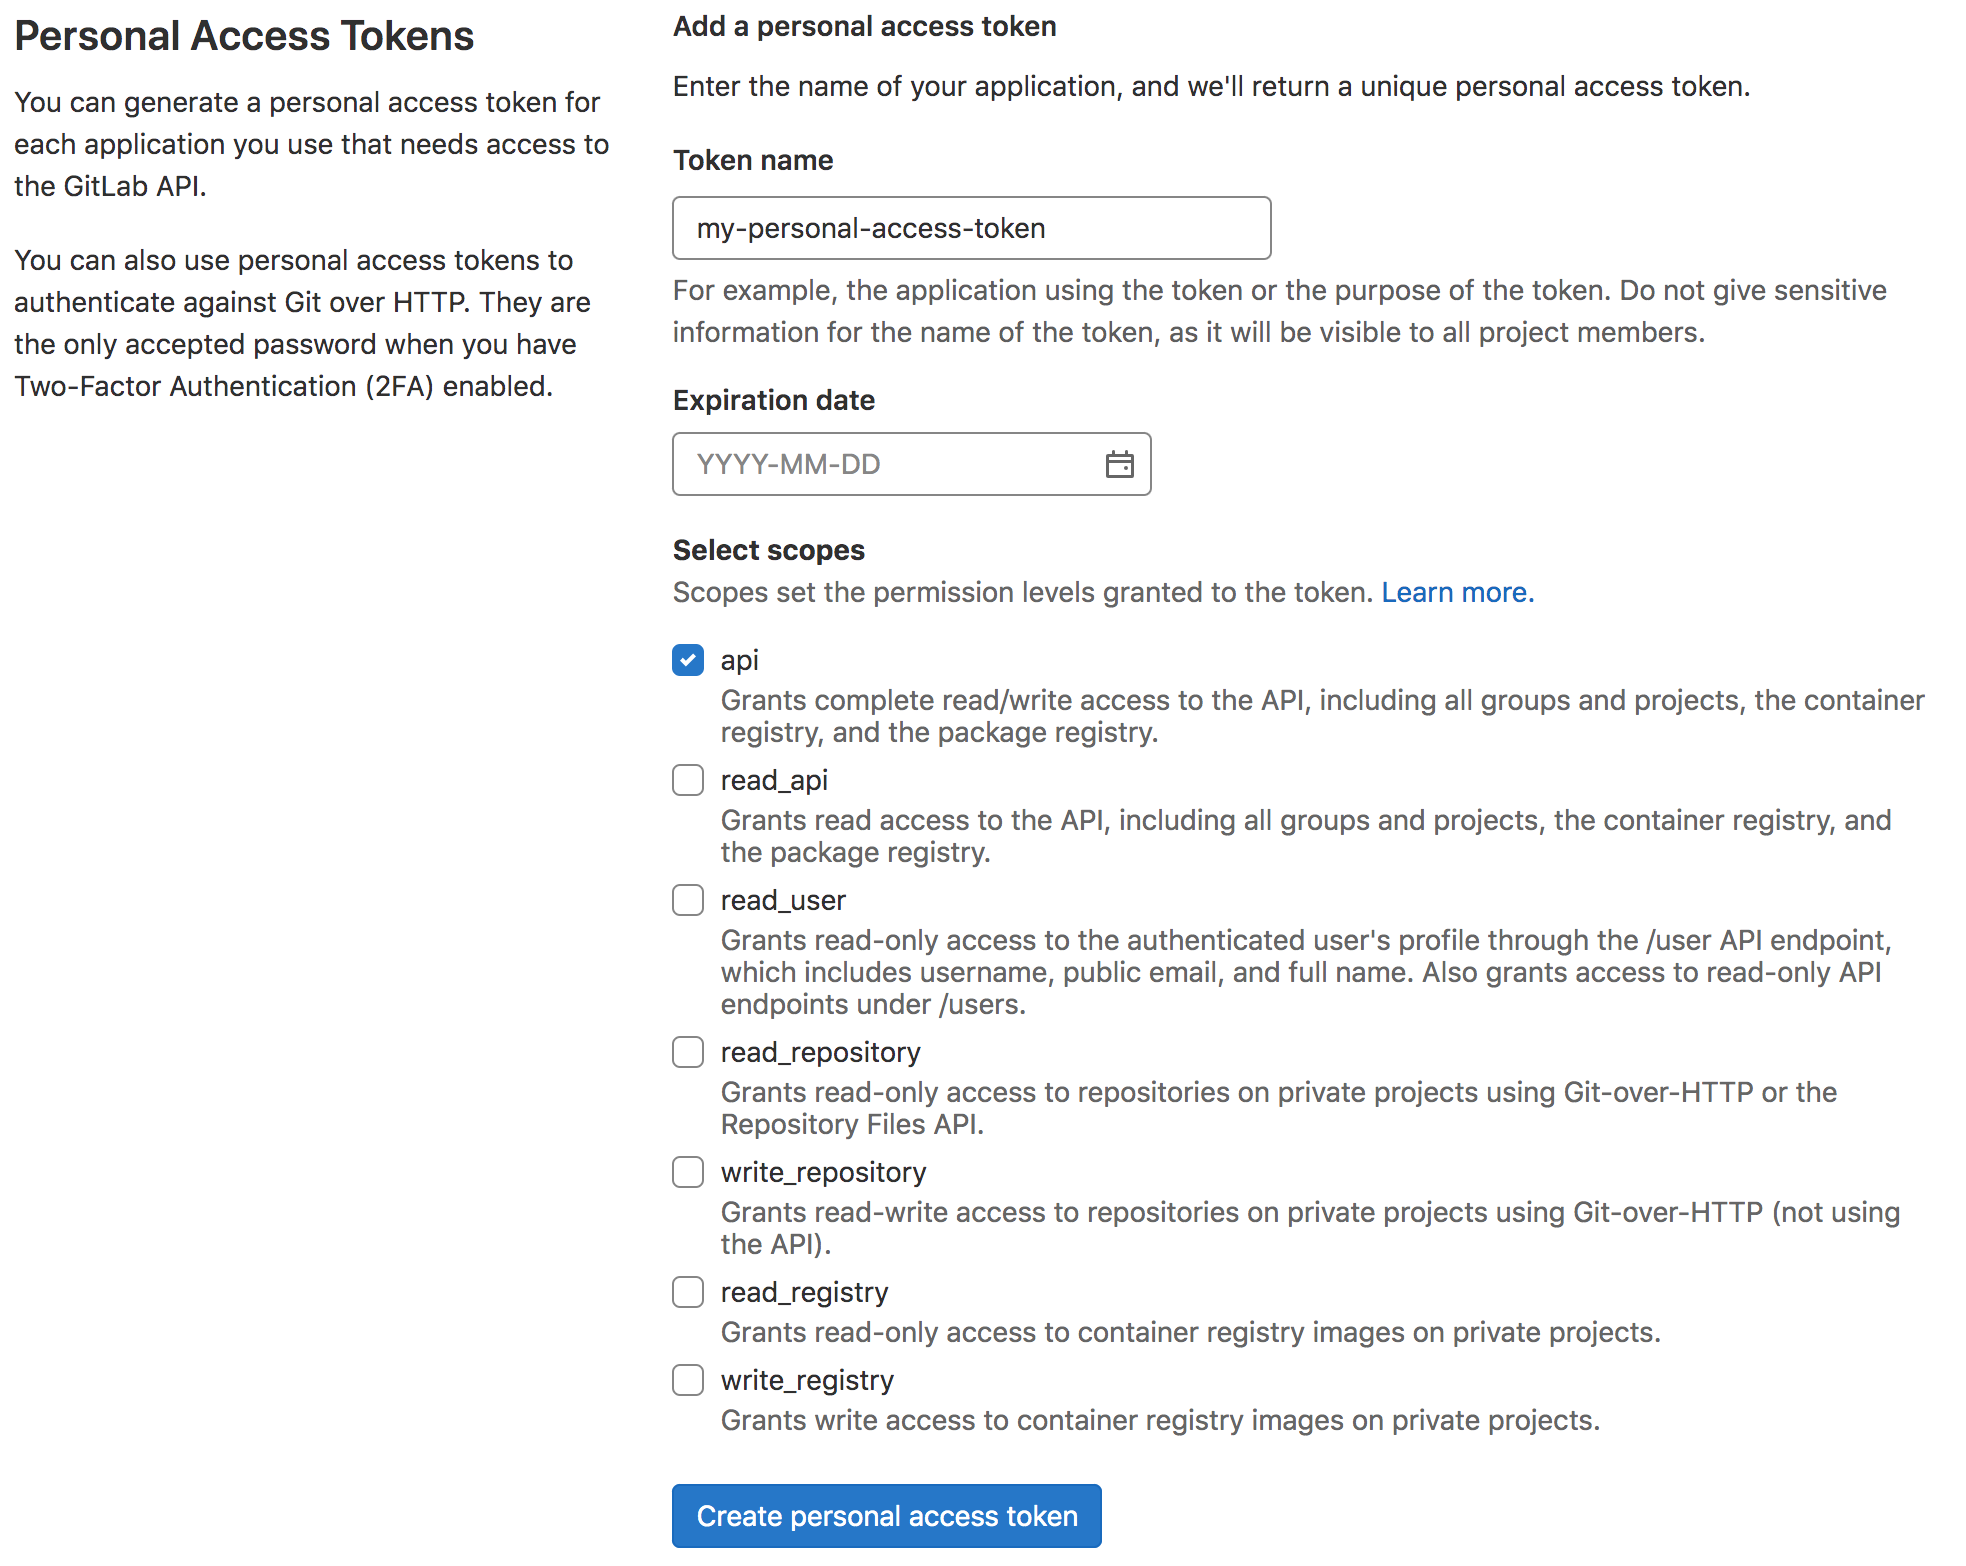
Click the copy button next to your newly generated PAT at the top of the page. Once you navigate away from this page, you won't be able to view the token again.
Paste your new token into the text box on the project setup page, and click Connect to continue.
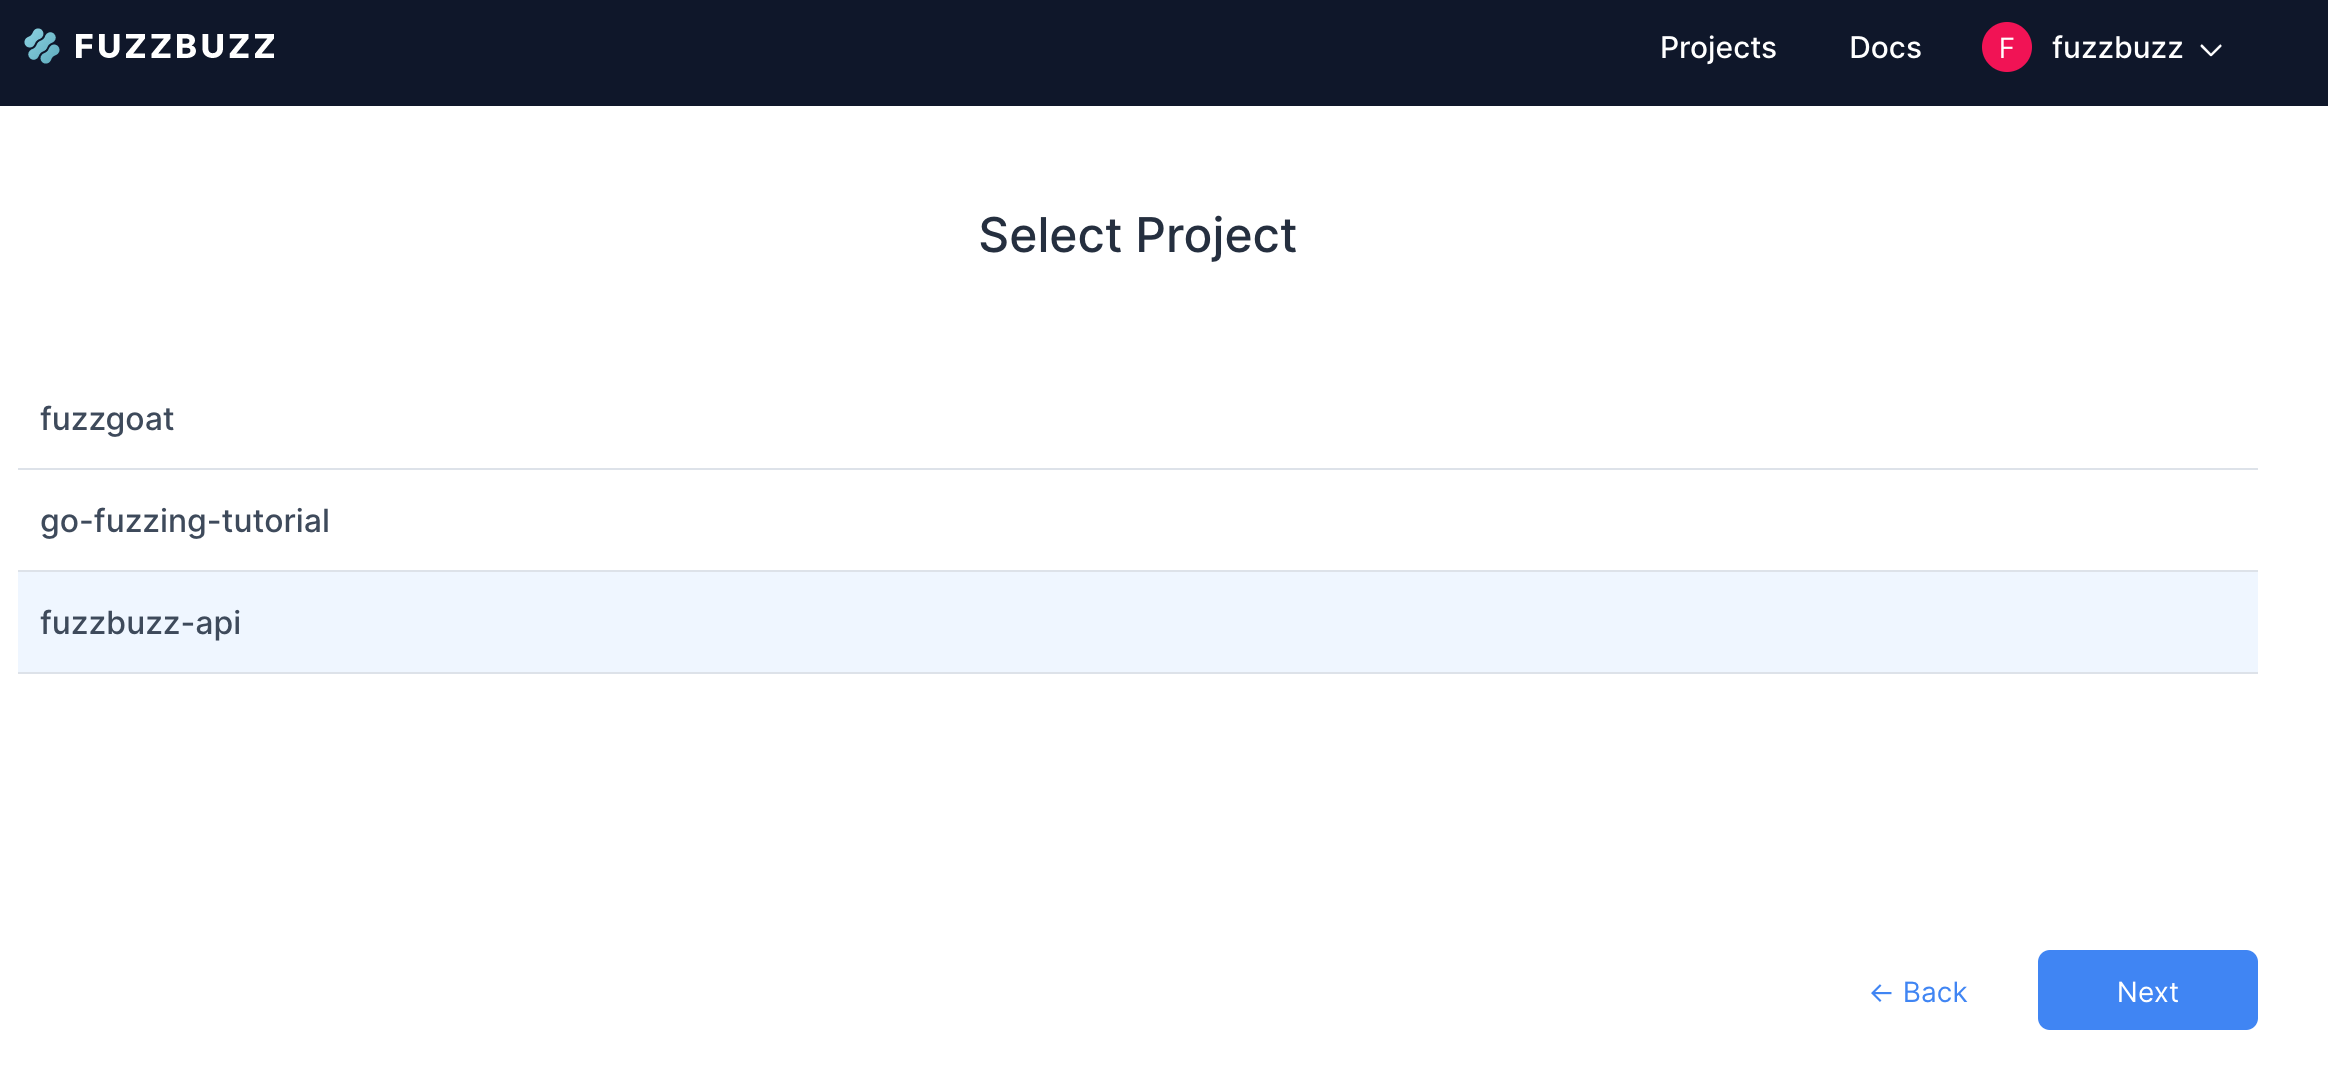
Select the project you wish to connect to Fuzzbuzz, and click Next.
Once your project is created, you will see a screen with instructions describing how to set up fuzz tests for your repository. Once you have configured your GitLab project with a fuzzbuzz.yaml, push the changes up to your GitLab repository. Fuzzbuzz will pick up your changes, build them, and start running all detected fuzz tests in the repository.